You *can* do it! The assembly process is very easy even for non crafty people - but it is very time consuming so if you have friends, relatives (bridesmaids) or anyone that can help, get and assembly line going and you will be done in no time! |
||
| This is a simple invitation job (Aloha Kauai) sample showing the basic steps involved in assembling an Envelopment® or Pocket Fold®™ invitation any of these steps can be modified to your invitation. The basic taping and mounting steps are used on a lot of the samples shown in our gallery. If you have questions about any more elaborate steps such as adding ribbons, and other embellishments please contact us, we are happy to help! | ||
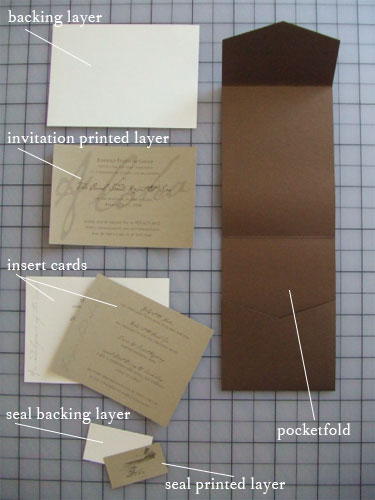 |
Step 1: Gather your supplies These are the paper layers needed to complete this invitation - we can print these for you or you can purchase the blank cards to print yourself. Our sample invitation consists of: 1. bronze 5x7 Pocket Fold® (signature portrait)
* seals are printed 12-up on an 8.5x11 sheet of paper and then cut to size - see instructions below on printing multiple up on a sheet. |
|
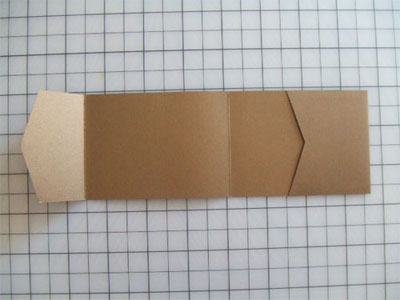 |
Step 2: Start with the basic shape you want to work with. This is a 5x7 Pocket Fold®™ Signature Portrait in a Bronze. We are turning our invitation to work on the Landscape orientation. |
|
|
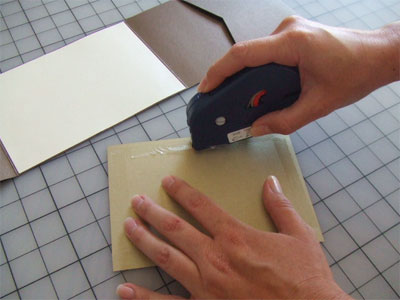
Step 3: Tape the backing Run a line of tape along all 4 sides of the back of the backing layer (Diamond) staying as close to the edge as you can, the closer the tape is to the edge the less the card edges will start pulling up when the invitation is complete.
|
|
 |
Step 4: Mount the 1st backing layer Position first backing layer (Diamond). There is no template availble for mounting this first backing layer, we recommend putting the top of the card about a 1/16 from the top flap crease and then "eyeball" the distance on either corner from the edges...approx 1/16 inch will show. |
|
|
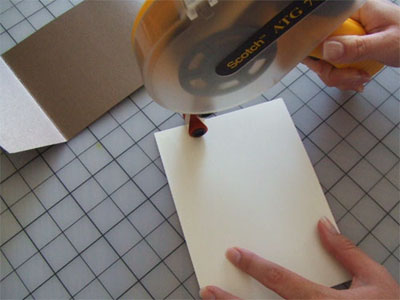
Step 5: Tape the printed layer Tape the back of the second card stock (printed) layer (Champagnium).
|
|
 |
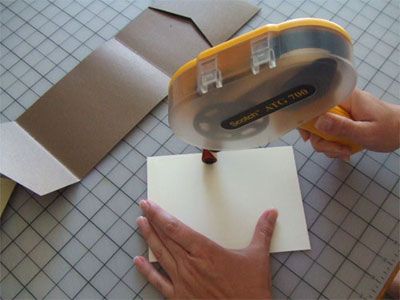
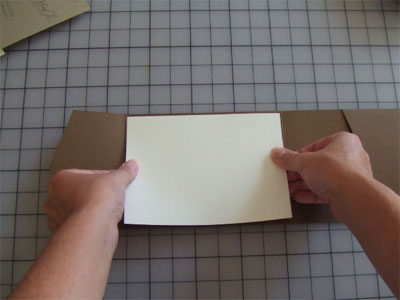
Step 6: Mount the printed layer Mount this printed layer to the layer(s) below, leaving an even border of the backing layer all the way around. All paper is cut to size when you get it so this is very
easy! However some custom sizes still require the cards to be layered by hand, we "eyeball" each layer, lining up each layer on a diagonal and "measuring" that the spaces are even by eye. See our Layering How-To Sheet for more details. |
|
|
||
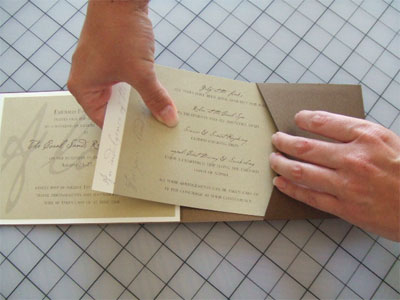
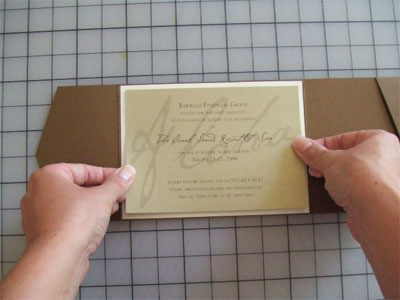
Step 7: Insert the cards Stack the insert Cards together and insert them into the pocket. |
||
|
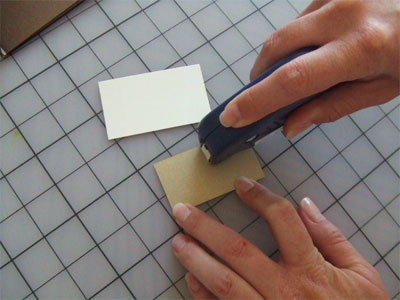
Step 8: Tape the seal Tape the back of the printed seal. Mount the printed layer (Champagnium) onto the backing layer (Diamond). |
|
 |
Step 9: Mount the printed Seal layer Mount this printed layer to the seal backing layer(s), leaving an even border of the backing layer all the way around.
|
|
 |
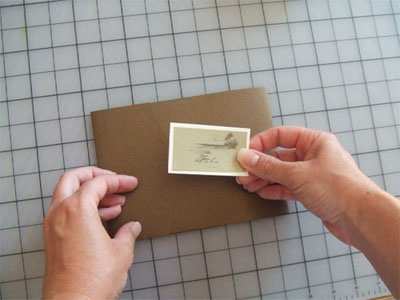
Step 10: Tape the backing Tape the top 1/3 of the back of the completed seal and mount to the front flap. |
|
|
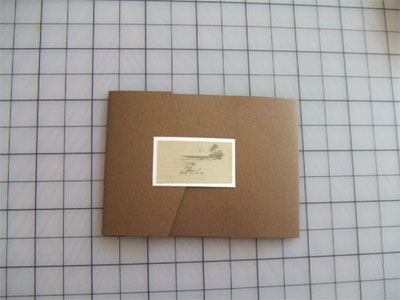
Step 11: Mount the finished seal OPTION 1: You can mount half of the seal to the flap directly (as shown here), so that is overlaps the flap and appears centered on the Pocket Fold®. This option is mostly decorative and will just hang loose, allowing guests to open the flap easily. |
|
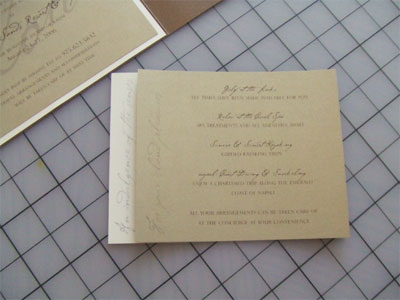
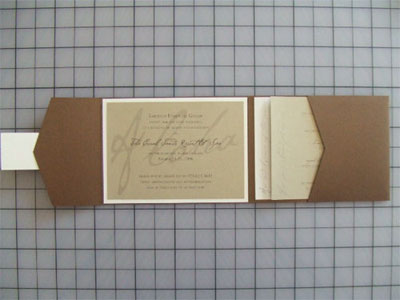
There it is! Your custom invitation is completed! |
||
|
 |
|
We use and recommend the following products for mounting the cards: |
||
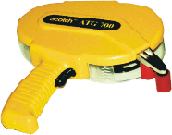
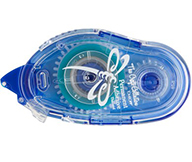
| Many crafters know that double sided tape rollers are a simple and fast way to adhere paper, card stock, photos and memorabilia. Crafters simply hold the ergonomically shaped unit and pull it along the surface to be adhered. Since the adhesive is dry there is less mess and the paper won't buckle like it can with liquid glues. Acid-free versions make these a popular choice for scrap-bookers. | ||
|
Scotch ATG Tape Gun and Refills
|
Tombow Permanent Adhesive Tape Runners
|
|
HOW-TO TUTORIAL VIDEOS |
INFORMATION SHEETS | |
How to Refill a ATG Tape Dispenser Courtesy of Envelopments, Inc. Used by permission. How to use the JIGster Courtesy of Envelopments, Inc. Used by permission.
The NEW & IMPROVED JIGster from Envelopments!
|
How to load a tape gun (PDF) Courtesy of Envelopments, Inc. Used by permission. How to assemble layered invitations (PDF) Courtesy of Envelopments, Inc. Used by permission. How to assemble envelope liners (PDF) Courtesy of Envelopments, Inc. Used by permission. How to assemble favor containers (PDF) Courtesy of Envelopments, Inc. Used by permission. How to colorize your artwork (Grayscale to CMYK) Courtesy of Envelopments, Inc. Used by permission. How to maximize your print sheet (multiple up printing) Courtesy of Envelopments, Inc. Used by permission.
|
|